Installation Process For A Marine Engine Box Cooler
Installation Process for a Marine Engine Box Cooler
Installation Process for a Box Cooler
Tools and Materials Needed:
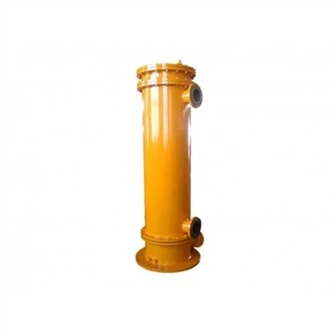
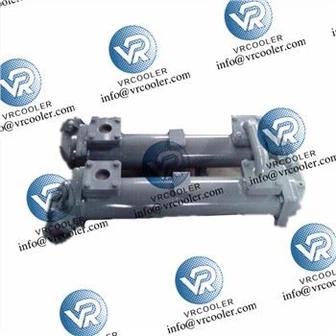
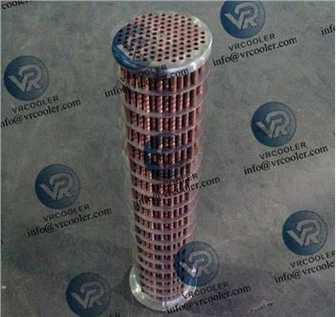
Box cooler unit
Mounting hardware (brackets, bolts, etc.)
Seawater intake and discharge hoses
Engine coolant hoses
Clamps
Tools (wrenches, screwdrivers, etc.)
Sealant or thread tape (for plumbing connections)
Step-by-Step Instructions:
Preparation:
Read the Manual: Review the manufacturer's installation instructions.
Safety First: Ensure the engine is off and cool before starting work.
Choose a Location:
Select an appropriate location for the box cooler, typically close to the engine and near the water intake.
Mount the Box Cooler:
Use the mounting brackets to secure the box cooler to a stable surface. Ensure it is level and accessible for maintenance.
Connect Seawater Intake:
Attach the seawater intake hose to the box cooler's intake port.
Ensure all connections are secure and use clamps to prevent leaks.
Connect Engine Coolant:
Connect the engine coolant line to the appropriate port on the box cooler.
Use clamps to secure the hoses.
Install Discharge Line:
Connect the discharge line from the box cooler to the designated outlet (usually back to the engine or overboard).
Ensure that the line is free of kinks and is securely fastened.
Seal Connections:
Apply sealant or thread tape to threaded connections to prevent leaks.
Check for Clearance:
Ensure there is enough clearance around the box cooler for airflow and maintenance.
Test the System:
Refill the coolant system if necessary.
Start the engine and monitor for leaks.
Check the operation of the box cooler to ensure it's functioning correctly.
Final Inspection:
After running the engine, inspect all connections and hoses for any signs of leaks or issues.